Showing posts with label DIY. Show all posts

Wednesday, December 26

Better Late Than Never? [DIY Refashion]

First of all, I apologize for the awful quality of the image below.

Secondly, this is embarrassingly late. I got this dress over a year ago. Isn't it funny how fast time goes by? Just as refresher, I got this at a bag sale and the cost came out to be about $0.33 for the dress. So essentially if I messed it up, it wasn't going to be much of a loss.

But there wasn't much room for mistakes; this is a pretty straightforward refashion.


As you can tell from the photos, I simply cut the dress to the desired length (plus about 1.5 inches to take the hem into account), and then used the excess fabric to make three large ruffles for the front of the dress. 

If you'd like to see how to make ruffles, here's a pretty good simple tutorial! I don't even do two rows of stitches like they do...works just fine.

But essentially, each ruffle is a rectangular piece of the fabric with the sides hemmed. I cinched one long side of each one, arranged them as I wanted them tiered, pinned them, and sewed them into place. 

I also made a waist tie with the excess fabric, but I didn't have that with me to take the "after" picture.

That's all! And now, a whole year later, I have a cute $0.33 dress all ready to go. :)

Saturday, December 8

Ruffled Shoulders DIY

It's been quite a while since I've posted a refashion!
I got this top at a bag sale, which averaged out to be $0.27 per item. 
So basically, it was free. 

 It was super long, so I figured I could use the excess fabric at the bottom to manipulate the rest of the shirt. I ended up adding a shoulder ruffle:


It still needs a bit of work to make it look nice...as if you can't tell, there's thread coming out from one shoulder in the second picture. I'll be working on fixing things like that so that it's actually in a wearable state. But thoughts? 

Wednesday, November 21

Painting Adventures, Part 2

Going off of my last post, I also painted this set of drawers for the same project. I'd seen projects like this on Pinterest before and loved the idea, so I was super excited when I had the chance to try it out myself!

So originally they were plain white...


And this is what the end result looked like: 


This took less than an hour and less than $10 in paint. It's also rather fun, if you like painting and whatnot, so be warned--you might feel the urge to run around the house and just paint everything in sight once you get started. :)

Monday, November 19

A Splatter of Paint (DIY Project)

A couple of months ago I worked on some craft projects for a family, basically involving repainting some nursery items. I completely forgot to write a post about it until now! 

This is an easy project that only costs whatever the price of paint at the crafts store is. Michael's always has weekly coupons, so if you look those up before heading to the store, you can get a really good deal. 

So. I repainted a dollhouse that had seen better days...


And a toy chest with some rather strange rabbits on it:


I also painted a dresser drawer, which I will post tomorrow for you guys to see! 

Hope everyone's having a great Monday! I don't know about you all, but I'm beyond excited for Thanksgiving. I'm so ready for a break.


Monday, November 5

Refashioning a Refashion


I got this skirt about two years ago in the form of a brand new Forever 21 dress that I found at Goodwill for $4. I cut off the top of the dress because it was ridiculously short and I figured that turning it into a skirt would give me the ability to wear it lower on the waist, therefore making it more modest.

I wore it a few times like that, but there's only so much you can do, and it still seemed short to me. 

So I turned it into a girl's skirt and gave it to my sister. 


This was a super easy, 5 minute alteration. I just sewed in the waistband as needed, along the red dashed line as indicated in an image above.

The stitch could easily be taken apart and adjusted to fit as she grows. And this adorable skirt now be worn as it deserves to be, without being awkward and short. 

Now...if someone can find me an adult sized version of this skirt as it fits on my sister, please tell me. Because I'd probably buy it in a heartbeat.


Monday, October 22

Unconventional Uses for a Dress

I went to Goodwill this past weekend and have quite a few good finds to share! But today I want to focus on one particular item I purchased, because it's a little unconventional. I purchased this boxy, seemingly homemade dress/nightgown type thing:


The first time I spotted this on the racks I didn't even give it a second glance. I loved the print but it was just ridiculous, and the fabric was an odd texture and slightly sheer so it wasn't something I'd invest in as an alteration project. But I went back to it later and came to the realization that it could be used for a rather unconventional DIY project...conversion from a dress to wall decor!
Basically I cut out squares to match the size of some square canvases I had lying around, taped the fabric to the back of the canvas with scotch tape, and was done!

Supplies used? Some scotch tape, a dysfunctional goodwill dress ($4), and 4 square canvases (~$8). 

So only $12 for some super cute interior decor!

I've seen so many cool patterned but awful looking dresses at Goodwill before. Now I know to buy them and make use of them! 

The best part is, I can easily take the fabric off if I ever need the canvas or want to switch it up. I even left some of them still in the plastic packaging underneath the fabric covering. 

Sunday, October 7

Old Pleated Shirt Refashion!

 I got this outdated shirt from a local thrift store a few months ago. It was purchased in a bag sale, so the cost averaged out to be about $0.27. Pretty good deal, I'd say!

I thought this shirt would need a lot of work, but after some quick alterations it already looked much better, so I decided to stop before I got myself into a time-consuming, unnecessary mess.

All I really did was take out the should pads and cut off the sleeves. I hemmed the sleeves, obviously. I also sewed the sides in a little because it ran big. 

I paired it with my pleated Cynthia Rowley skirt and it looked pretty darn cute. :)  


 Top: thrifted, DIY ($0.27)
Skirt: Cynthia Rowley ($15)
Blazer: Target, thrifted ($4)
Shoes: Banana Republic, thrifted ($8)

I'd like to point out that these kinds of outdated button down shirts are ridiculously easy to find. So go to your nearest thrift store and you'll probably run across one within five minutes of hitting the racks. :)

Saturday, September 8

Downsizing [Refashioning for Kids]

A while ago I received a comment on my Facebook page asking about refashioning adult clothing for kids. It just so happens that I have a kid sister and several skirts from Forever 21 that I deem far too short for their intended consumers. So I decided to do a bit of quick refashioning, because they're doing no good just sitting in my closet. 

This is a super easy alteration that you can do in 5 minutes. Maybe even less. Here's what I started with: 


Just a simple knit ruffle skirt. No zippers, no pleats, nothing. So all I had to do was flip it inside out and sew along one edge: 


This is what it turned out like:


This is fantastic because you can take out the stitch and adjust it as the child grows. And it's a great way to incorporate some styles into a child's wardrobe that you may not be able to find in the children's section!

I got this skirt from Goodwill for $3.50. I think it's adorable. It's just too short for my taste. So I'm glad to have found a good use for it. :) 
And obviously, this doesn't have to be used to alter things for kids. You might have a knit skirt that just needs to be taken in for your own sake!

 I also altered another skirt using a slightly different process, so I'll share that soon!

Saturday, September 1

Diamonds

I've had this old bulletin board lying around for a while:


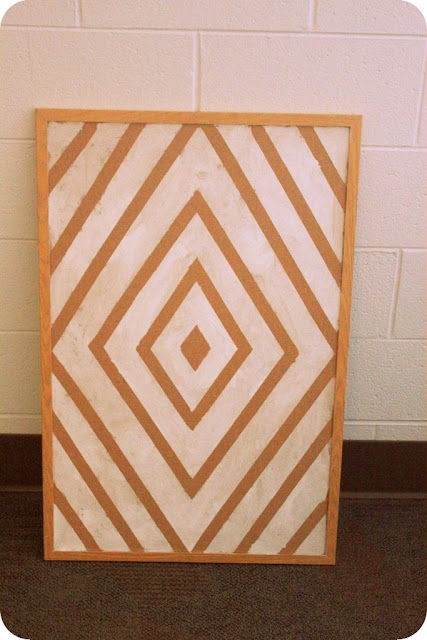
I got it for $3 at a yard sale last year. It needed a bit of sprucing up, so I decided to tackle it with some white acrylic and a paint brush. And some masking tape, laid down in this fashion:


This is what it came out like! Much better, right?


I'm thinking about painting the border a different color. We'll see.

Tuesday, August 21

Road Maps


A while back I was cleaning out the closet and came across some old road maps from family trips back in the day, when smart phones and GPS systems didn't do the work for us. I immediately thought about using it in this project, but being the procrastinator that I am, it took a few weeks to put it into action.

Once I actually got around it it, it was a pretty easy project!

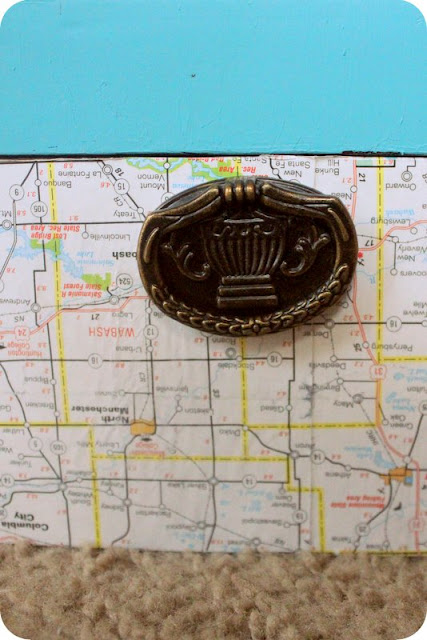
I used Elmer's glue and clear coat varnish to cover the lower half of the box with the map. The hinges and handles on the box were screwed on, so I was able to remove them rather than work around them.


Then I mixed some acrylics into a light blue color for the top. Yes, I was lazy and mixed my colors on the box. 


 (some tweaking was done....)


And voila! End result.


I'm really happy with how this turned out! The box cost me $2.95 at Goodwill, and the paints were from my existing art supply stock, but probably only cost a few dollars each.

This will go wonderfully with the other things I've redone for my room in the fall.

And just in case you were wondering, it's a map of Indiana.